

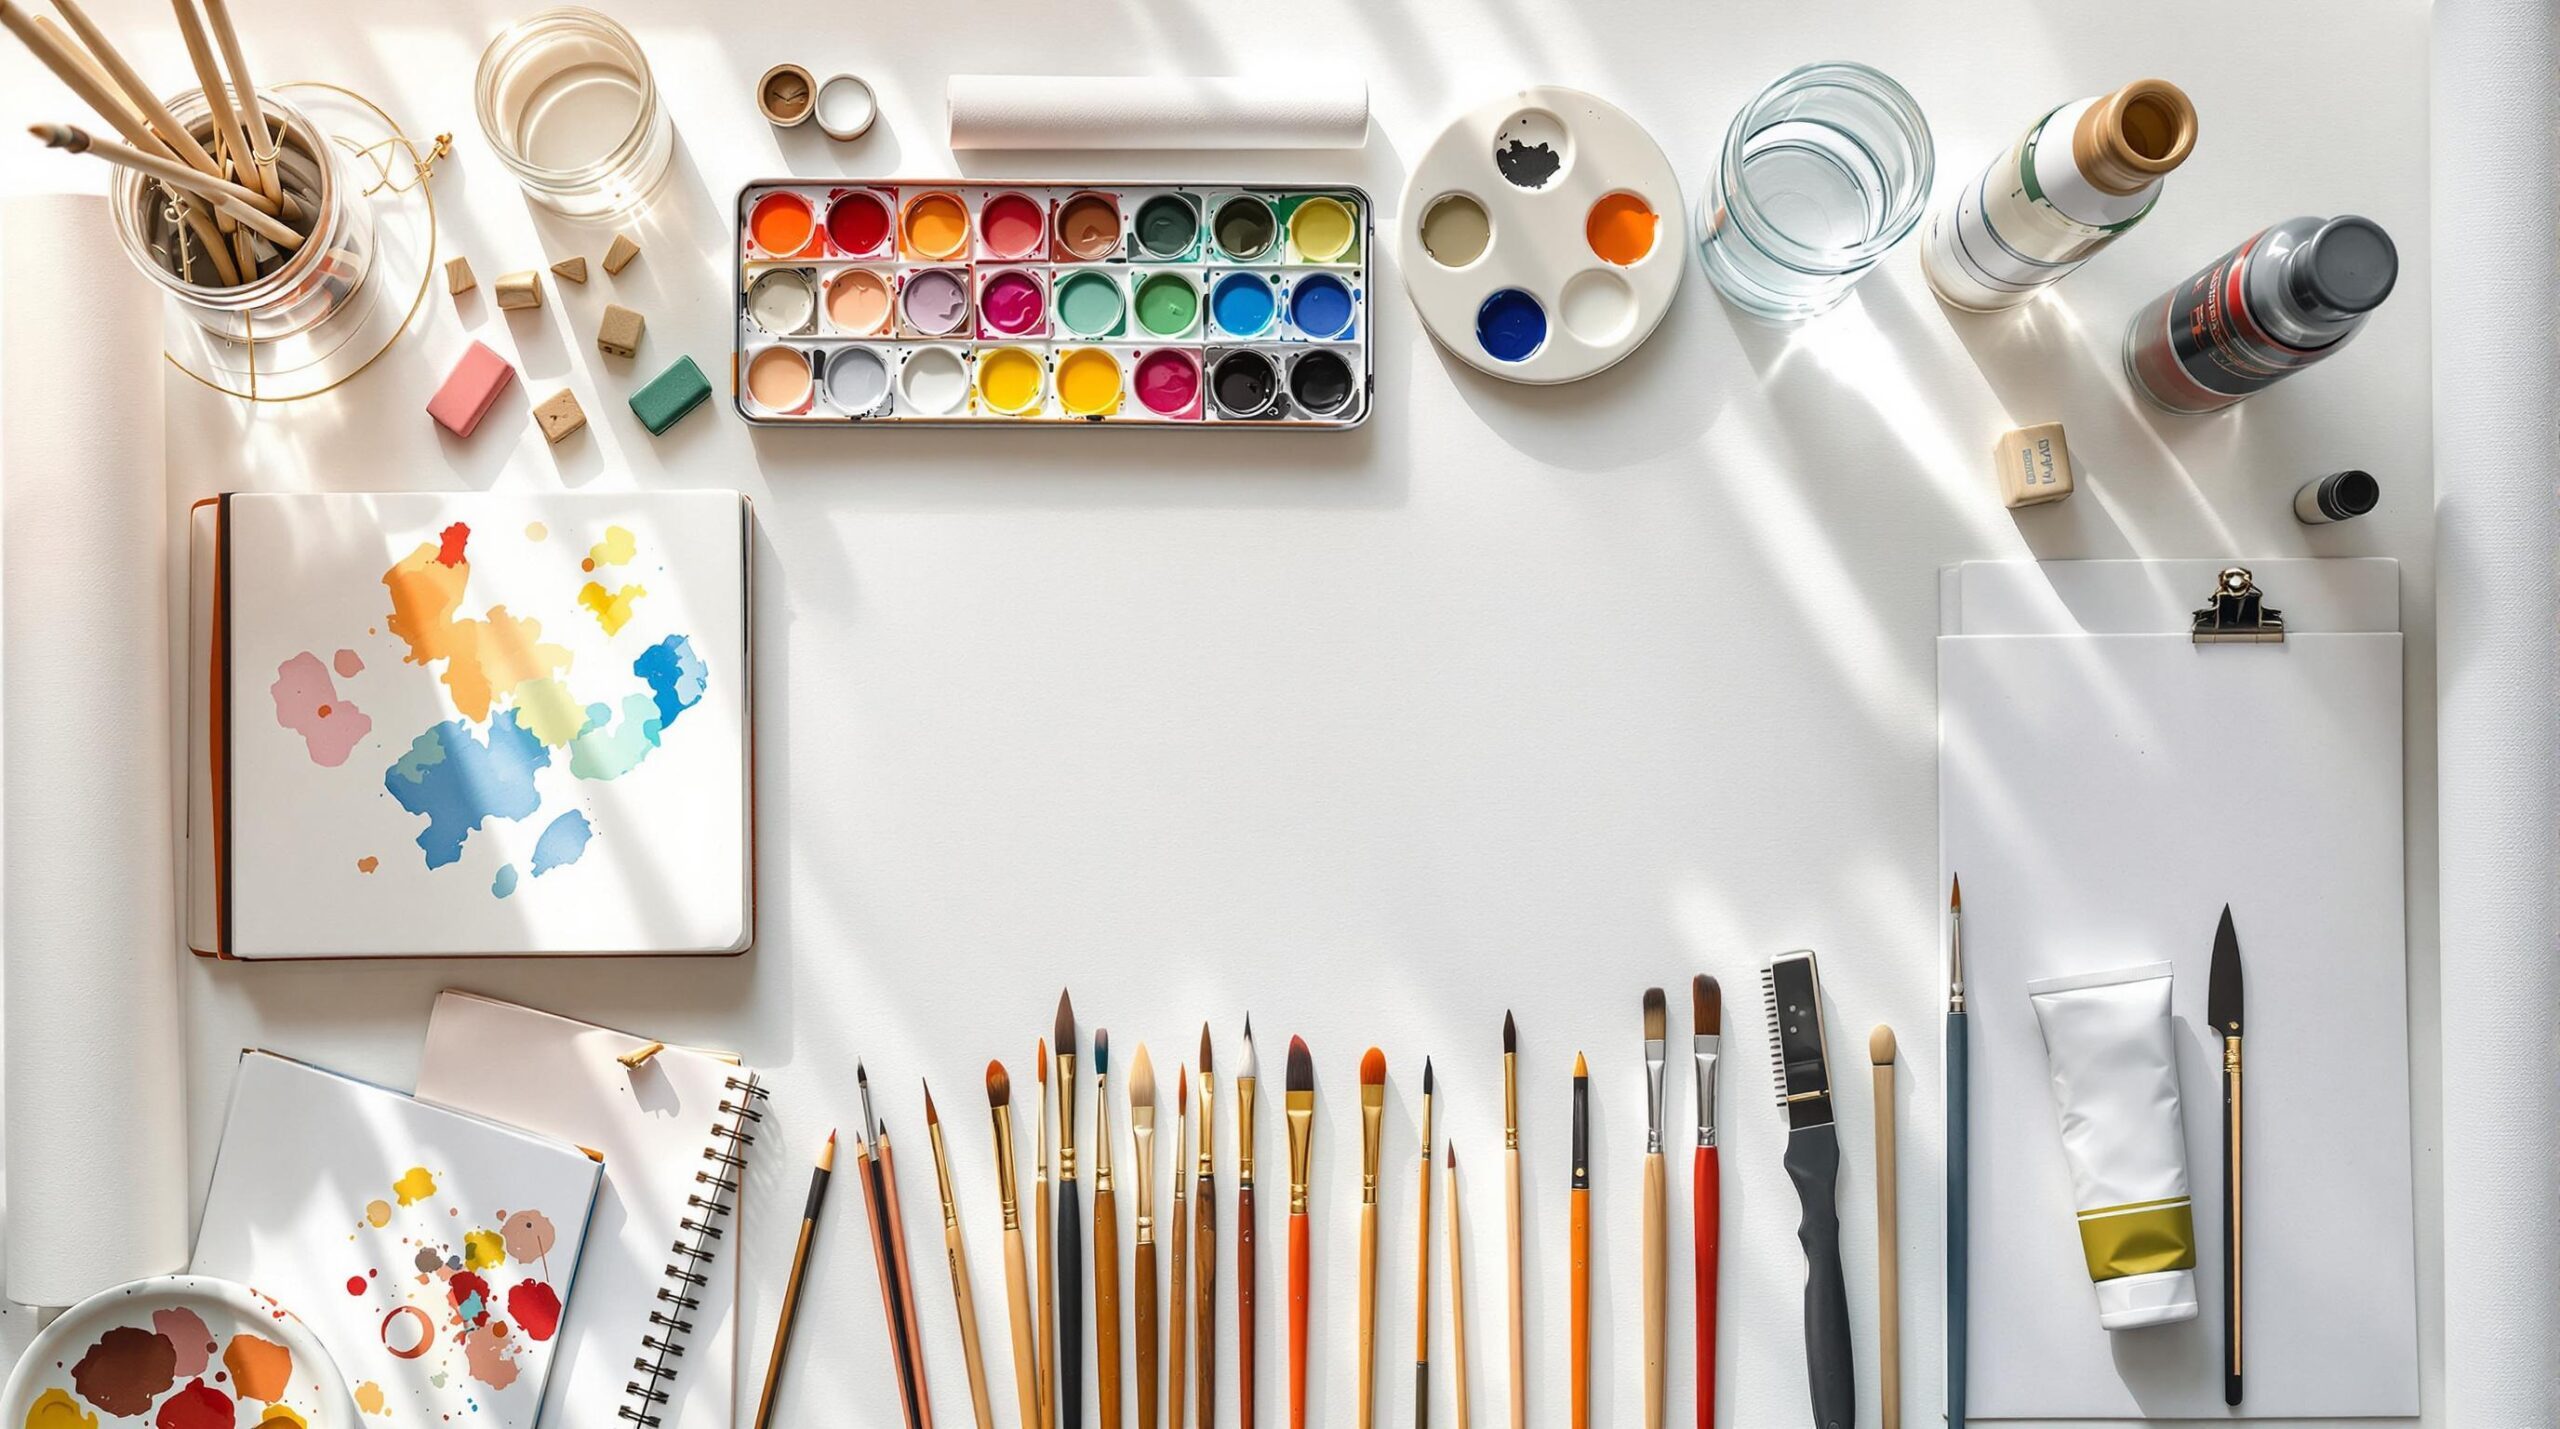
Getting into painting doesn’t have to be overwhelming. With just a few essential tools, you can jumpstart your creative journey without overspending. Here’s a quick rundown of the 12 must-have art supplies for beginners:
- Paintbrushes: Start with 3–4 high-quality brushes (flat, round, filbert).
- Paints: Acrylics are beginner-friendly; stick to basic colours like white, red, blue, yellow, and black.
- Canvas or Painting Paper: Use canvas panels or watercolour paper for practice.
- Palette: A plastic or disposable palette is affordable and easy to clean.
- Easel: A tabletop or portable easel works well for small spaces.
- Solvents & Mediums (for oils): Mineral spirits and linseed oil are great starters.
- Palette Knife: Perfect for mixing paint and creating textures.
- Rags & Paper Towels: Keep your workspace clean and brushes in good shape.
- Painter’s Tape: Achieve sharp edges and clean lines with ease.
- Optional Mediums: Experiment with gels or retarders to modify paint texture and drying time.
- Storage Tools: Organize brushes, paints, and canvases in bins or cases.
- Reference Materials: Use guides or tutorials to learn techniques and avoid common mistakes.
Quick Tip:
Focus on quality over quantity – start small with brushes, paints, and surfaces, then expand as you grow more confident. With these basics, you’re set to dive into painting and enjoy the process while building your skills.

Essential Acrylic Painting Materials for Beginners
1. Paintbrushes
Paintbrushes are a must-have for any painter, especially beginners. While it might be tempting to buy the cheapest set, spending a bit more on good-quality brushes can make a big difference in your painting experience and skill growth.
Here are a few key brush types to consider:
- Flat brush: Great for broad strokes and covering large areas.
- Round brush: A versatile choice for details and general use.
- Filbert brush: Perfect for blending and creating soft edges.
Synthetic brushes are a solid choice for beginners – they’re affordable, durable, and easy to use. For most techniques, mid-sized brushes (sizes 6–8) are a good starting point. Flat brushes (size 8–12) are ideal for covering larger areas, round brushes (size 4–8) work well for detailed work, and filbert brushes (size 6–10) handle blending beautifully.
“Quality matters. If you are on a tight budget, then I would invest in high-quality brushes first, paint next then canvas.” – Dan Scott, Draw Paint Academy.
When you’re picking your first set, brands like ProArte and Polar are worth checking out. They offer reliable, beginner-friendly brushes at reasonable prices [3]. Instead of buying a big set of cheaper brushes, start with 3–4 high-quality ones [1].
Brush Care Tips: Always clean your brushes with soap and water after use, store them upright or flat, and avoid harsh chemicals or leaving them soaking in water. Taking care of your brushes will help them last longer, making them a worthwhile investment.
Once you’ve got your brushes sorted, it’s time to choose the paints that will bring your ideas to life.
2. Art Supplies: Paints
Paints are a key part of any painting journey. Alongside brushes, they form the core of your creative toolkit, helping you try out different techniques and styles.
Acrylic Paints: A Great Starting Point
Acrylic paints are an excellent choice for beginners. They’re quick to dry, easy to clean, and flexible to work with. Brands like Winsor & Newton Galeria and Golden Heavy Body Acrylics are great options to consider [2]. To get started, you only need a few basic colours:
- Titanium White
- Cadmium Yellow
- Ultramarine Blue
- Cadmium Red
- Mars Black
| Paint Type | Benefits |
|---|---|
| Acrylics | Dries fast, easy clean-up |
| Oils | Vibrant colours, blends well |
| Watercolours | Portable, soft effects |
Student vs. Artist-Grade Paints
Artist-grade paints have stronger pigments and better coverage, but they can be pricey. For beginners, student-grade paints from trusted brands like Daler-Rowney are more budget-friendly and work well for practice [2]. Starting with a smaller palette also helps you focus on learning colour mixing before expanding your collection.
Storage and Safety Tips
Keep your paints in a cool, dry place, away from direct sunlight. Acrylics should be sealed tightly to prevent them from drying out. No matter the type of paint you use, always ensure good ventilation and follow the safety instructions provided by the manufacturer.
Once you’ve picked your paints, it’s time to choose the right surface to bring your ideas to life.
3. Art Supplies: Canvas or Painting Paper
Picking the right surface for painting is a key step, especially for beginners. Here’s a look at some practical choices to get you started.
Canvas Options
Canvas panels are a great option for beginners. They’re prepped and ready to use, plus they’re easy on the wallet. Smaller sizes, like 5×7 inches, are ideal for practicing techniques without breaking the bank [2].
| Surface Type | Best For | Key Features |
|---|---|---|
| Canvas Panels | Acrylic/Oil | Prepped, affordable, easy to store |
| Stretched Canvas | Acrylic/Oil | Durable, great for display |
| Painting Paper | Watercolour/Mixed Media | Budget-friendly and portable |
Painting Paper Options
If you’re working with watercolours or experimenting with mixed media, painting papers from brands like Canson are a solid, budget-conscious option [2].
Choosing the Right Size
Stick to smaller sizes – around 11×14 inches or less. These dimensions make it easier to finish your work, use less paint, and gain confidence before moving on to larger projects.
Caring for Your Surfaces
Store canvases flat or on an easel to keep them in good condition. For painting paper, ensure it stays dry to avoid damage. Using the right surface helps you focus on your technique without worrying about expensive mistakes [2][4].
Budget-Friendly Quality
You don’t need premium materials to start. Brands like Daler-Rowney offer affordable options that are perfect for beginners. As you improve, you can gradually explore higher-quality surfaces [2].
Once you’ve chosen your painting surface, it’s time to dive into the tools you’ll need for mixing and managing colours: palettes.
4. Art Supplies: Palette
Having the right palette is key to mixing colours effectively and creating consistent results in your artwork. Let’s break down your options and how to get started.
Types of Palettes
Here’s a quick look at common palette types and their uses:
| Palette Type | Best For | Key Features |
|---|---|---|
| Disposable Paper | Short sessions | Tear-off sheets, easy clean-up |
| Plastic | Everyday use | Lightweight, durable |
| Porcelain | Long-term use | Non-porous, resists stains |
| Wooden | Oil painting | Absorbent, classic feel |
Choosing Your First Palette
If you’re just starting out, a plastic palette is a solid choice – it’s affordable and practical. Brands like Arteza and Winsor & Newton offer great beginner-friendly options [5]. Look for one with wells for holding colors, a mixing area, and features that make it comfortable to use.
Maintenance Tips
Keep your palette clean after every session. Use water for acrylic paints or solvents for oils [2]. Regular cleaning ensures it stays in good condition, helping you achieve consistent colour mixes.
Organizing Your Palette
Set up your colours in a logical order to make mixing easier. Start small with a limited range of colours – this will help you learn the basics of blending and colour theory [5].
As you gain more experience, your preferences for palettes may change. Once your palette is ready, it’s time to set up your workspace with the tools you need for success.
5. Art Supplies: Easel
An easel provides a stable and comfortable workspace, making your painting sessions more enjoyable and productive – especially if you’re just starting out.
Types of Easels for Beginners
| Type | Ideal For | Features |
|---|---|---|
| Tabletop | Small spaces | Compact and easy to move |
| Standing H-Frame | Studio work | Stable with adjustable height |
| Aluminium Field | Portability | Lightweight and foldable |
| Studio A-Frame | Versatile use | Sturdy with multi-angle adjustments |
What to Look for in an Easel
When choosing an easel, focus on these key factors:
- Stability: A wide, sturdy base prevents wobbling.
- Adjustability: Look for height and angle settings that suit your needs.
- Canvas Support: A design that holds canvases securely.
- Extra Features: Options like built-in storage can be helpful.
Brands like Daler-Rowney and Winsor & Newton offer beginner-friendly models. For instance, the Daler-Rowney Graduate Table Easel is portable yet stable, making it a great choice for small workspaces.
Tips for Setup and Maintenance
Set the easel at eye level to avoid strain while painting. Always tighten adjustment knobs to keep it secure during use. To ensure your easel lasts, clean it regularly and store it in a dry spot.
Starting with an affordable, practical easel is a smart move. As your skills improve, you can upgrade to a model that suits your evolving needs. With your easel ready, you’re all set to explore the next tools in your painting journey, like solvents and mediums.
6. Art Supplies: Solvent and Mediums for Oil Painting
When it comes to oil painting, having the right materials to thin paints and create different effects is key. Knowing these basics not only makes the process smoother but also ensures safety while working.
Key Materials to Get Started
For beginners, mineral spirits and odourless turpenoid are top choices for thinning paint and cleaning brushes. These are easy to use and widely available. As for mediums, linseed oil is a reliable option. It helps with blending and stretching colours without complicating the process. Stick to basic linseed oil from well-known brands – it’s budget-friendly and perfect for those just starting out [2].
Staying Safe While Using Solvents
Working with solvents requires care. Follow these safety tips to protect yourself and your workspace:
- Use metal containers with clear labels to store materials, and keep them in a cool, dry spot.
- Maintain good ventilation by opening windows or using a fan.
- Wear nitrile gloves to avoid skin contact.
- Dispose of solvents responsibly by checking with your local waste management facility.
Beginner-Friendly Advice
Keep it simple at first. Use just one solvent, like mineral spirits, and one medium, such as linseed oil. This setup is affordable and versatile enough for most beginner techniques [4].
If you’re looking for safer options, consider solvent-free gel mediums or walnut oil. These are great alternatives, especially for home studios [2].
When working with mediums, remember: less is more. A small amount can achieve the effects you want without compromising the paint’s quality [5].
With your solvents and mediums sorted, it’s time to dive into another essential tool: the palette knife.
7. Art Supplies: Palette Knife
Brushes are great for details, but palette knives bring a whole new dimension to your art. They let you create bold textures and experiment in ways brushes can’t. Perfect for both oil and acrylic paints, these tools open up exciting opportunities for creativity.
Choosing Your First Palette Knife
If you’re just starting out, go for a medium-sized, flexible stainless steel palette knife. It’s affordable, easy to use, and works well for mixing colours, applying textured strokes, and even cleaning your palette. Brands like Winsor & Newton and Daler-Rowney offer good options in the $5–$20 range [4]. A single flexible knife is all you need to begin exploring both mixing and application techniques.
Using Your Palette Knife
Palette knives shine when used with thicker paints like oils or heavy-body acrylics. They let you create bold, textured strokes that brushes simply can’t replicate [4]. While they might take some getting used to, palette knives are a must-have for experimenting with bold, textured effects.
Maintenance and Care
To keep your palette knife in good condition, clean it with soap and water (or mineral spirits for oil paints), dry it thoroughly, and store it in a dry place to avoid rust. With proper care, your palette knife will stay a reliable tool for years to come [4].
Now that you’ve got the tools for creating bold textures, let’s dive into the cleaning essentials that keep your workspace in order.
8. Art Supplies: Rags and Paper Towels
Rags and paper towels are must-haves for keeping your workspace and brushes clean. They help maintain your tools and keep your painting area organized.
Choosing the Right Cleaning Tools
Cotton or microfiber rags, or even old t-shirts, are great choices since they don’t leave fibres behind in your paint. For paper towels, brands like Scott and Bounty are favourites among artists because they absorb well and shed little lint. Use these for quick clean-ups and pre-washing brushes.
Tips for Staying Organized
Create a cleaning station with specific rags for different types of paint, paper towels for spills, and a container for used rags. Keep everything within reach but away from your painting area to avoid accidental messes on your artwork.
Important Safety Tips
If you’re working with oil paints, make sure to store solvent-soaked rags properly to reduce fire risks. For water-based paints, an open container works fine for temporary storage.
Now that your cleaning tools are sorted, let’s dive into another tool that helps with precision and clean lines: painter’s tape.
9. Art Supplies: Painter’s Tape
Painter’s tape is a go-to tool for achieving sharp, clean edges in your artwork. Brands like ScotchBlue and FrogTape offer budget-friendly and reliable options. FrogTape stands out with its PaintBlock Technology, making it especially handy for watercolours and delicate surfaces.
How to Use Painter’s Tape
Painter’s tape is perfect for securing surfaces, creating borders, and crafting precise geometric patterns in your designs.
Tips for Best Results
To get the most out of painter’s tape, keep these tips in mind:
- Prepare the surface: Make sure it’s clean and dry, and press the tape down firmly to prevent paint from seeping underneath.
- Avoid tension: Don’t stretch the tape too tightly to prevent buckling.
- Remove carefully: Peel the tape off slowly at a 45-degree angle while the paint is slightly damp to avoid tearing or pulling up paint.
For intricate or delicate projects, try FrogTape Delicate Surface, which is specially made to protect sensitive materials while keeping edges sharp.
Once you’ve mastered clean lines with painter’s tape, it’s time to dive into tools that help keep your art supplies organized and easy to access.
10. Art Supplies: Optional Painting Mediums
Painting mediums can change how your paint behaves, offering new ways to experiment as you develop your skills. While not essential for beginners, they can be a great addition as you grow more confident.
Popular Acrylic Mediums
Acrylic mediums like gels, flow aids, and retarders can help you explore different textures, drying times, and blending techniques. Here are a few beginner-friendly options:
| Medium Type | Ideal Use | Example Product |
|---|---|---|
| Gel Medium | Adding texture or creating impasto effects | Golden Heavy Gel |
| Flow Aid | Smoother blending and glazing | Liquitex Flow Aid |
| Retarder | Slowing drying time for extended workability | Golden Open Medium |
When to Use Mediums
Mediums can improve your painting experience in several ways. They allow you to:
- Create layers with different textures or consistencies
- Add depth through dimensional effects
- Enhance paint flow without diluting colour strength
Experiment with these tools to extend drying time, achieve smoother blends, or explore unique textures as you try new techniques.
Stay Safe While Experimenting
When using painting mediums, safety is key. Always work in a well-ventilated area, follow the product’s mixing guidelines, and wear gloves if needed. Keeping your workspace tidy and organized will make experimenting more enjoyable and stress-free.
Focus on building strong foundational painting skills first. Once you’re comfortable with the basics, these mediums can add new dimensions to your art and help you push your creativity further.
Now that you’re familiar with mediums, let’s dive into tips for keeping your art supplies neat and accessible.
11. Art Supplies: Storage and Organisation Tools
Keeping your workspace organized not only makes painting easier but also helps protect your art supplies. With the right storage tools, you can streamline your creative process and keep your materials in great shape.
Storage Options to Consider
| Supply Type | Suggested Storage | Cost Range |
|---|---|---|
| Brushes | Vertical holders or roll-up cases | £10-25 |
| Paints | Clear bins with dividers | £15-30 |
| Canvases | Vertical racks or flat drawers | £20-40 |
| Small Tools | Desktop organizers or toolboxes | £15-35 |
Setting Up Your Workspace
Dedicate a specific spot for your art supplies, ensuring that the items you use most often are easy to grab. Wall-mounted shelves or pegboards are great for saving floor space while offering plenty of storage.
Tips for Staying Organized
- Keep similar items grouped together and label mixed paints or mediums.
- Clean and reorganize once a week to keep things functional.
- Always return art supplies to their designated spots after use.
- Use household items like mason jars, shoe boxes, or clear containers as budget-friendly storage options.
Portable Storage for On-the-Go
If you often paint in different locations, the Artbin Essentials Lift-Out Tray Box ($25-30) is a great option. It features adjustable compartments to keep your tools organized and easy to transport.
With a tidy, efficient workspace, you’ll be ready to dive into your next creative project with ease.
12. Art Supplies: Reference Materials and Guides
Using the right tools is just one part of the equation – knowing how to use them effectively is just as important. Quality resources can speed up your learning and help you sidestep common mistakes.
Key Learning Resources
| Resource Type | Purpose | Recommended Options |
|---|---|---|
| Art Books | Core techniques | The Art of Painting by Bob Ross |
| Technical Guides | Medium-specific skills | The New Acrylics by Rheni Tauchid |
| Online Platforms | Interactive learning | Hobbify Creator Plan |
| Video Tutorials | Visual demonstrations | Step-by-step painting lessons |
Using Digital Resources Effectively
Hobbify’s platform is designed with beginners in mind, offering step-by-step lessons and advanced courses. Its structured format helps you build a solid foundation before tackling more challenging techniques.
Blending Physical and Digital References
Keep your reference materials close to your workspace. A combination of physical books and digital tools allows you to adapt your learning style, whether you prefer hands-on practice or guided tutorials.
Building a Reference Collection
Start with essential guides that cover:
- Colour theory and mixing
- Brushwork techniques
- Canvas preparation
- Medium-specific tutorials (oils, acrylics, or watercolours)
With the right art supplies at your fingertips, you’ll not only get more out of your tools but also develop the skills to grow as an artist.
Conclusion
You don’t need a mountain of art supplies to start painting. A simple set of tools can help you get started without breaking the bank. Focus on picking up a few quality brushes, student-grade paints, and small canvas panels. These essentials are perfect for building skills while keeping costs low.
As you improve, try out different tools and materials to find what works best for your style. Take good care of your brushes – proper cleaning and storage will make them last longer and improve your painting experience. These basics will support your growth as you experiment with more advanced techniques and materials.
Stick to mastering the fundamentals before expanding your collection. Small canvas panels are great for practicing without overspending. By maintaining your art supplies and honing core techniques, you’ll set yourself up to develop your own artistic style. As your confidence grows, these initial tools will remain a solid foundation for exploring more complex methods and materials.


